| Home l Residential Estimating l Contact Us | ||||||||
|
|
||||||||
|
Finishing Drywall Tips
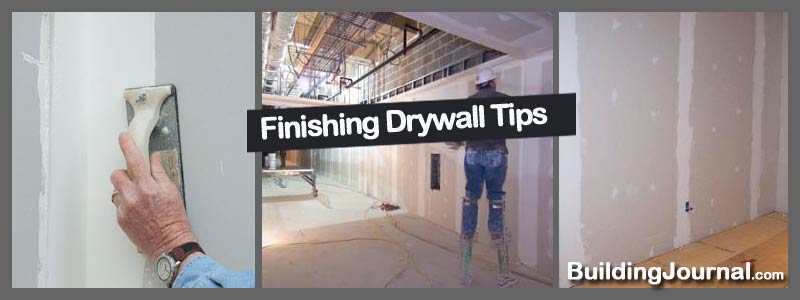
Finishing drywall is not a difficult job. There are basically three steps to the process. First is the taping, then applying a finish coat, and then finally standing. The main thing you need in order to have a smooth and professional finished drywall is patience (and be sure to avoid Chinese Drywall ). To properly finish drywall does take some time. It cannot be done in one day or weekend. You will need to allow a sufficient amount of drying time between coats of the joint compound in order to have an even surface. The first thing you need to do is tape the drywall. Cover all of the fasteners and joints. Taping compound, which is also called mud, can be used to fill the corner, tapered and butt joints. The joints can also be covered using joint tape, which is a heavy paper tape which has been designed to provide even, strong surface coverings. Next nail fastener depressions (dimples) or screws need to filled in with joint compound. It is very important that the faster dimples be filled when taping joints to allow the faster fill mud sufficient time for drying and shrinking before the mud finish coat is applied. Once the taping is completed, the next step is to apply the finish coats. Drywall joints can be taped and filled using a 6" drywall knife. However to apply finish coats you will need a wider blade. Knives for finish coat drywall comes in sizes ranging form 8" to 14" wide. The wider blades will help to spread the taping much thin over wider areas. The wide, thin edge on the knife helps for blending the taping mud onto the drywall's surface. It is very important that you allow for the proper drying time periods between finishing coats. Your fist coat of finish should be approximately 6 to 8 inches wide. The third or final coat needs to be approximately 10 to 12 inches wide. You also need to apply another coat of mud onto the fastener dimples. After all of the coats have dried sufficiently, inspect the finished joint. Hold a portable light at an angle against the wall. The long shadows that are created by the light will help to reveal any imperfections or flaws which will need repairing. Using a light as a flaw detector will really help to ensure that your finish job is a professional one. Fill any flaws or depression in and let these thoroughly dry. The final step in finishing drywall is to sand down all of your work to a smooth finish. When you are sanding the fastener fills and drywall joints there are several things to keep in mind. First be sure to protect yourself. Be sure to wear safety goggle and a respirator rather than just a dust mask. A lot of very fine dust is created when sanding drywall mud. Use a medium grained or fine sand paper to do your sanding. A heavier grain will take off too much of the material to fast. When sanding apply gentle and even pressure. You are just trying to smooth out any rough spots, not sanding all the way down to bare paper. Before you prime the walls for painting, clean up thoroughly. Wipe down all surfaces using a damp cloth and remove all dust out of the room. |

